
Thumbnails are the single most powerful click-driver on YouTube. A compelling thumbnail can double your click-through rate and your click-through rate directly determines how much of YouTube’s recommendation engine works in your favor. So when your thumbnail file is too large to upload or comes through blurry after YouTube compresses it automatically, it’s worth knowing how to fix it yourself.
YouTube accepts thumbnail files up to 2MB in size, with a recommended resolution of 1280 x 720 pixels (16:9 aspect ratio). PNG files are popular among creators because they support transparent backgrounds and tend to look crisper than JPEGs but they can also be significantly larger in file size. Here’s how to compress a PNG without making it look worse.
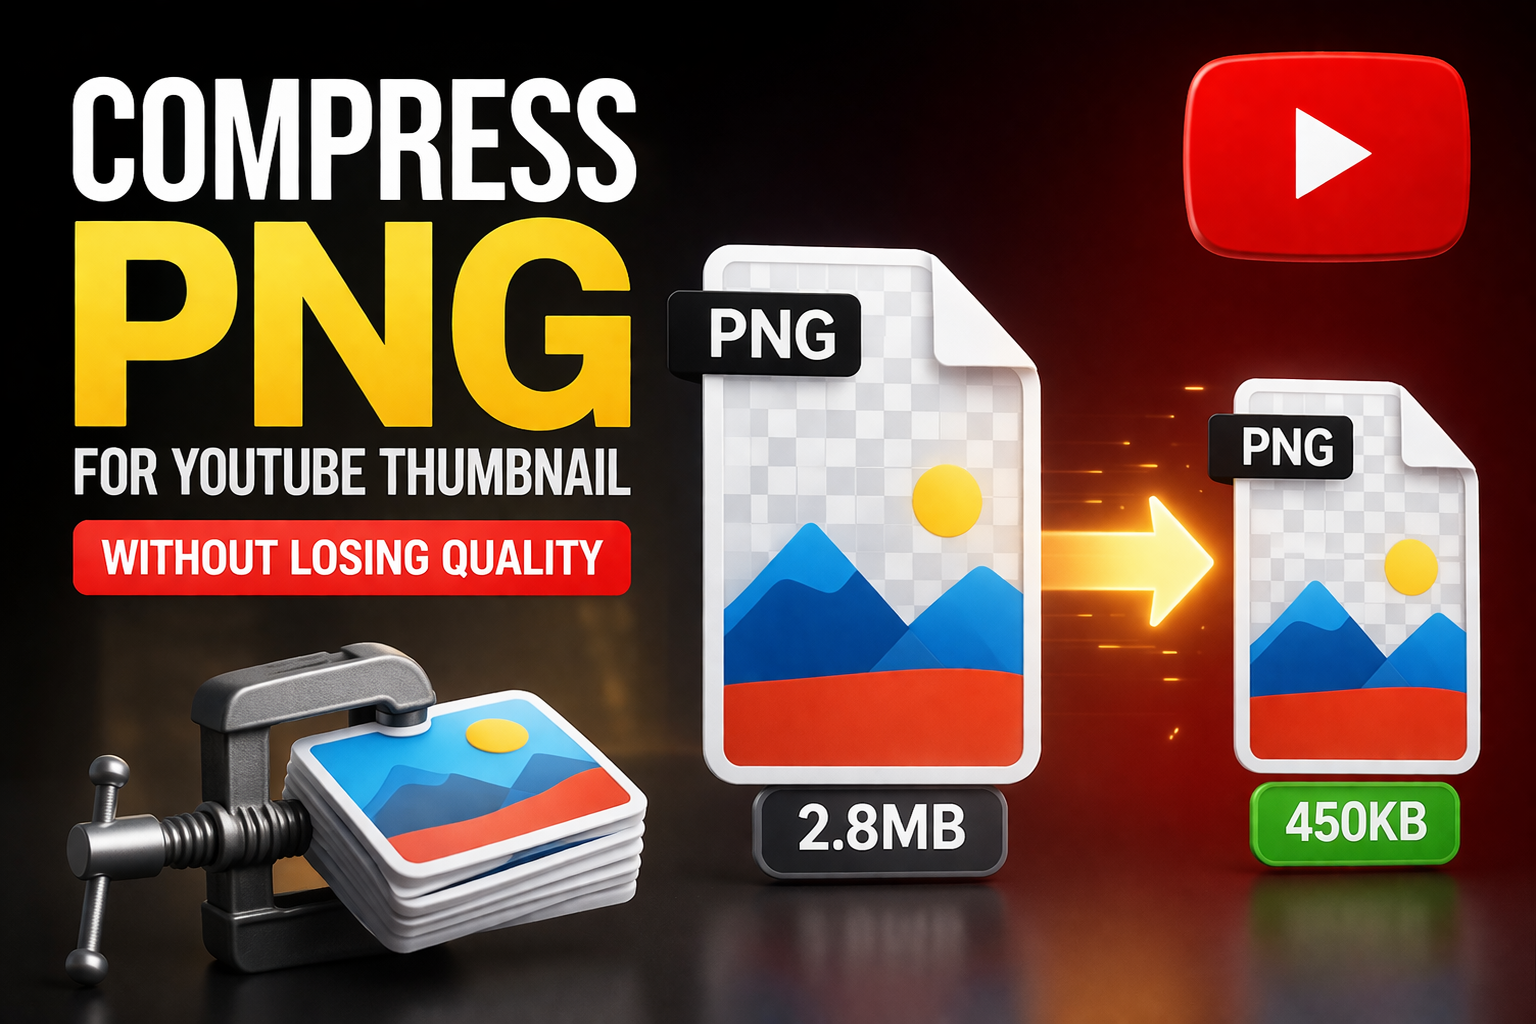
Why File Size Matters for Thumbnails
When you upload a thumbnail that’s too large, YouTube compresses it automatically on its servers. Unfortunately, automatic compression is rarely kind to PNG files it can introduce artifacts, flatten colors, or blur text. By pre-compressing your file yourself using smarter tools, you maintain more control over how the final image looks.
The Best Free Tools for Compressing PNG Thumbnails
TinyPNG is the most widely used option among creators. It uses smart lossy compression to reduce file size dramatically often by 60–80% while keeping the image looking nearly identical to the original. You drag and drop your PNG, it compresses, and you download the result. It’s fast, free for files under 5MB, and works in any browser.
Squoosh is a more powerful browser-based tool from Google. It lets you compare the original and compressed versions side by side and tweak the compression level manually. Great for when you want more control over the trade-off between quality and file size.
Photoshop and Canva both have built-in export compression settings. In Photoshop, use “Export As” rather than “Save As” and adjust the quality slider. In Canva, download as PNG and choose the compressed option if available.
Converting PNG to JPEG for Even Smaller Files
If file size is a persistent issue, consider exporting your thumbnail as a JPEG instead of PNG. JPEG files are significantly smaller than PNGs at comparable visual quality for photographic images. The downside is that JPEGs don’t support transparency and can show compression artifacts (blocky patterns) on high-contrast elements like bold text. For thumbnails with a lot of text or sharp graphic edges, PNG is usually the better choice. For thumbnails that are primarily a photograph or face, JPEG is fine.
Quick Checklist Before Uploading Your Thumbnail
Dimensions should be 1280 x 720 pixels. File size should be under 2MB (YouTube’s hard limit). File format should be PNG, JPEG, or GIF. Faces should be large and clearly visible thumbnails with faces consistently outperform those without. Text should be large enough to read on a mobile screen (where most people discover content). Contrast between background and foreground elements should be high enough to catch the eye in a busy feed.
Your thumbnail is often the first step in someone’s decision to click and clicking is the first step toward growing. To understand the full journey from impression to subscriber, check out our complete guide to YouTube promotion services and see how NexTech Ads builds growth strategies around every touchpoint.